
Decluttering Without the Overwhelm: A Room-by-Room Starting Point

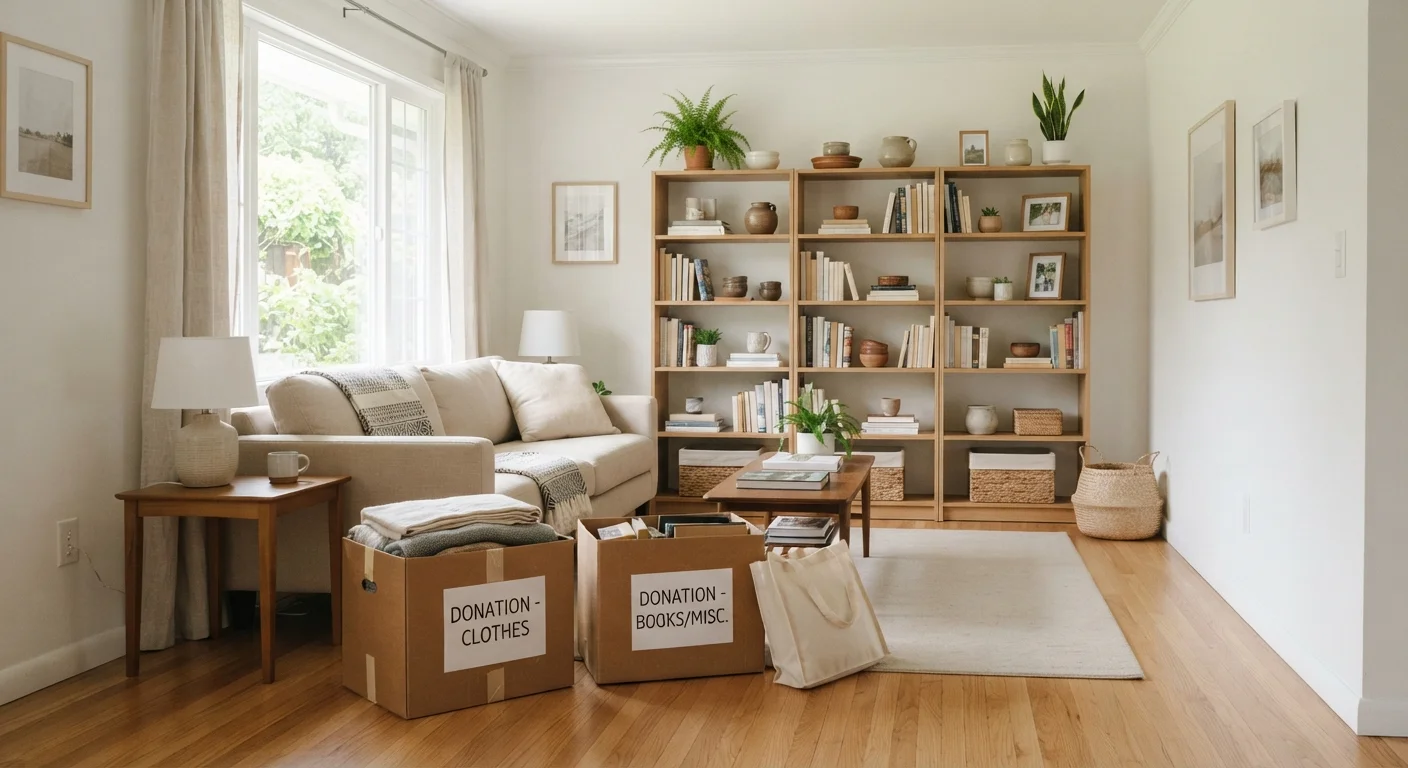
Photo: findbestways.com editorial
Key Takeaways
- Starting with one small zone prevents the paralysis that comes from trying to tackle everything at once.
- Sorting items into four categories (keep, donate, trash, relocate) speeds up decisions.
- High-traffic rooms like kitchens and entryways deliver the most noticeable results first.
- Consistent short sessions build more lasting habits than a single exhausting overhaul.
- Pairing decluttering with a weekly reset routine helps prevent clutter from rebuilding.
Why room-wide approaches stall
Most people approach decluttering by standing in a room and looking at everything at once. The visual volume of a whole room is enough to trigger avoidance. That is not a character flaw; it is a predictable response to an unclear, open-ended task.
A zone-based approach sidesteps that. Finishing a single drawer or shelf produces a concrete result, and small completed results are what build the follow-through to continue. Incremental progress compounds in the same way it does with any repeated behavior: each session is easier because the habit is slightly more established.
The other practical benefit is time. Most people do not have a free weekend. But 30 minutes on a weeknight is realistic, and a 30-minute session on a single zone actually finishes something.
Sorting containers or bags
Hold items in each category (keep, donate, trash, relocate) as you work through a space.
Sticky notes or masking tape
Label shelves or zones temporarily to help maintain new organization after clearing.
Timer
Set a defined work window to avoid decision fatigue during longer sessions.
How to work through each room
The six steps below apply to any zone in any room. Follow them in order, and do not move to a new zone until the current one is fully done, including getting the donate bag out of the house.
Choose one zone, not one room
Pick the smallest logical unit in the space you want to address: one kitchen counter, one shelf, one nightstand drawer. Starting smaller than feels necessary is the right call. A zone you can finish in 20 to 30 minutes gives you a completed result, which makes the next session easier to start.
Empty the zone completely
Remove everything from the surface, drawer, or shelf before making any decisions. Working with a blank slate lets you see the actual volume of what you have stored there, which is often more than it looked like in place.
Sort into four categories
As you handle each item, place it into one of four containers:
- Keep: used regularly and belongs in this zone
- Donate: functional but no longer needed
- Trash: broken, expired, or not worth donating
- Relocate: belongs in a different room
The relocate pile is important. Moving items to where they are actually used stops clutter from migrating back.
Clean the empty surface before restoring items
Wipe down the drawer, shelf, or counter before putting anything back. This two-minute step makes the finished result feel more complete and is easy to skip under time pressure.
Return only the keep pile, then handle the rest immediately
Put your keep items back with some breathing room, without filling every inch of the space. Move the trash bag out to the bin and put the donate bag near the door so it leaves the house on your next trip out. Relocate items as soon as the zone is done, before they accumulate into a new pile.
Work through rooms in order of daily impact
Once you have a reliable process from Step 1 through Step 5, sequence your zones by how much the clutter affects your daily life. A practical order for most households:
- Kitchen counters and the inside of the refrigerator door
- Entryway and coat closet
- Bathroom cabinet and under-sink storage
- Bedroom nightstands and dresser tops
- Living room flat surfaces (coffee table, side tables, shelves)
- Home office desk and paper piles
Each completed zone reinforces the habit before you move on. For the longer paper-sorting sessions, building them into a weekly reset routine on a set day prevents them from expanding into open-ended projects.
Once all the main rooms are done, apply the same process to secondary spaces: linen closets, garage shelving, and storage areas under stairs. These tend to accumulate items that were relocated from primary rooms but never actually given a permanent home.
Keeping spaces clear after the first pass
Clutter rebuilds when items come in without a designated place to go. After each zone is cleared, the most effective maintenance step is assigning every category of item a specific location and returning things there consistently.
Flat surfaces are the most vulnerable. A counter with nothing on it invites temporary placement of incoming items, which then stay. Keeping one intentional object on a surface (a fruit bowl, a lamp) can make the space feel defined rather than available for random deposit.
A short weekly pass through the main rooms catches drift before it accumulates. If you are building that kind of routine, a structured Sunday reset gives it a consistent time slot. The Home and Garden hub has more on organizing and improving living spaces if you want to continue from here.
The content provided on our blog site traverses numerous categories, offering readers valuable and practical information. Readers can use the editorial team’s research and data to gain more insights into their topics of interest. However, they are requested not to treat the articles as conclusive. The website team cannot be held responsible for differences in data or inaccuracies found across other platforms. Please also note that the site might also miss out on various schemes and offers available that the readers may find more beneficial than the ones we cover.