
Composting at Home: A Practical Starting Point for Beginners

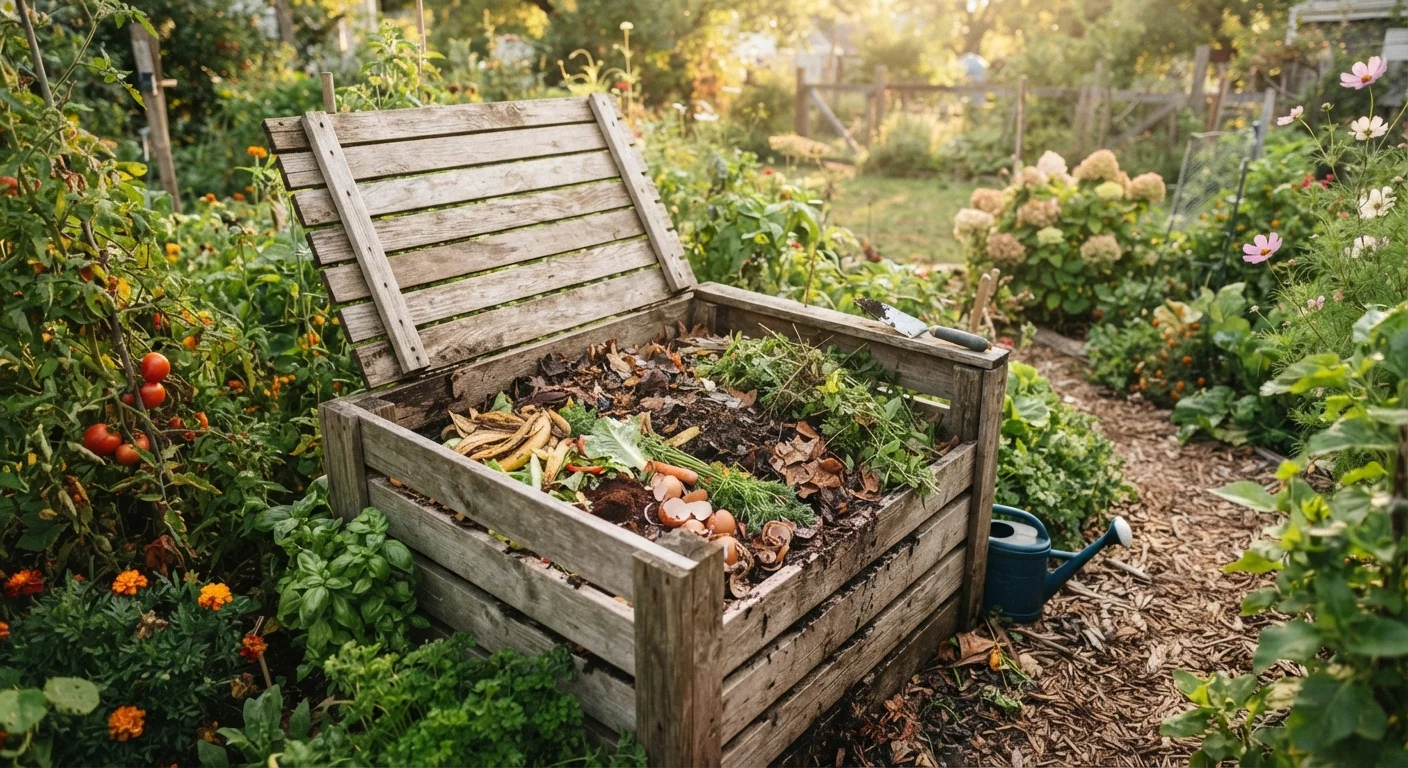
Photo: findbestways.com editorial
Key Takeaways
- Compost improves soil structure, drainage, and fertility without requiring purchased fertilizers.
- Beginners can start with a simple open pile or a lidded bin, depending on available space.
- A roughly 3:1 ratio of brown to green materials keeps a pile decomposing without odor.
- Moisture and occasional turning are the two main tasks needed to maintain an active pile.
- Finished compost looks like dark, crumbly soil and has an earthy smell, not a rotten one.
- Most kitchen scraps except meat, dairy, and oily foods are safe to compost at home.
What composting actually does for your garden
Composting is the process of letting organic material break down into a stable, nutrient-rich substance called humus. When you mix that finished material into garden beds, it does several things at once: it loosens compacted clay soil, improves drainage in sandy soil, feeds soil microbes, and adds a slow-release source of nutrients that plants draw on over time.
That matters for budget-conscious gardeners because healthy soil reduces how much you spend on bagged fertilizers, soil amendments, and replacement plants. If you plan to grow vegetables, herbs, or flowers, whether in a raised bed or in the ground, good compost is one of the most cost-effective inputs you can add. See our guide to raised beds vs. in-ground planting for more on how soil preparation shapes results.
Humus
The stable, dark material that results when organic matter fully decomposes. It improves soil structure and holds nutrients and moisture.
Greens
Nitrogen-rich compost ingredients such as vegetable scraps, fresh grass clippings, and coffee grounds. They fuel microbial activity in the pile.
Browns
Carbon-rich compost ingredients such as dried leaves, cardboard, and straw. They provide structure and prevent the pile from becoming soggy or smelly.
Vermicomposting
A composting method that uses worms to break down organic material. It works well indoors or in small spaces and produces a concentrated fertilizer.
Hot composting
An active composting approach where the pile reaches high internal temperatures through turning and moisture management, speeding up breakdown and killing weed seeds.
Choosing the right compost setup
You have three practical options as a beginner.
- Open pile: A loose mound in a corner of your yard. Cheap and easy to turn, but exposed to rain and wind, which can slow things down.
- Wire or pallet enclosure: A three-sided frame that holds the pile in place, improves airflow, and looks tidier. You can build one for very little cost using salvaged materials.
- Closed tumbler bin: A rotating barrel that keeps pests out and speeds up decomposition. Good for households that generate a lot of kitchen scraps or have limited yard space. Works well in settings described in our small-space gardening guide.
Worm bins (vermicomposting) are a separate category worth mentioning. They process kitchen scraps quickly, produce a concentrated liquid fertilizer as a byproduct, and work indoors. They do require a bit more attention to moisture and temperature than an outdoor pile.
Greens, browns, and the right balance
Every compost pile needs two types of material: greens (nitrogen-rich) and browns (carbon-rich). Greens include vegetable scraps, fruit peels, coffee grounds, fresh grass clippings, and garden trimmings. Browns include dried leaves, cardboard torn into pieces, newspaper, straw, and wood chips.
A working ratio is roughly 3 parts browns to 1 part greens by volume. Too many greens and the pile turns slimy and smells. Too many browns and decomposition stalls. You do not need to measure precisely. A general habit of layering a good handful of dry leaves or torn cardboard on top every time you add kitchen scraps gets you close enough.
What to avoid: meat, fish, bones, dairy, oily foods, pet waste, and plants that show signs of disease or that were treated with persistent herbicides. These either attract pests, create strong odors, or introduce compounds that the pile may not break down safely.
Building and maintaining your pile
Start with a 4- to 6-inch layer of coarse browns (wood chips or straw) at the base to allow airflow from underneath. Add alternating layers of greens and browns, keeping the pile at least 3 feet wide and 3 feet tall so it retains heat. A pile that reaches 130 to 160 degrees Fahrenheit in the center decomposes faster and kills most weed seeds.
Two ongoing tasks keep the pile active. First, moisture: the material should feel like a wrung-out sponge, damp but not dripping. In dry weather, water lightly. In heavy rain, cover the pile or move it under an overhang. Second, turning: use a pitchfork or shovel to move material from the outside of the pile into the center every one to two weeks. This reintroduces oxygen and speeds breakdown.
Speed up decomposition with smaller pieces
If you grow a variety of vegetables, the finished compost pairs well with the companion planting strategies covered in our companion planting basics article. Healthy soil supports the natural pest-deterring relationships between plants.
How to know when compost is ready
Finished compost is dark brown, crumbly, and smells like fresh earth, not like the materials you put in. The original scraps and leaves should be unrecognizable. You may still see a few larger chunks, like woody stems, which can be screened out and added back to the next pile.
To use it, spread 1 to 3 inches over garden beds and work it into the top few inches of soil, or use it as mulch around established plants. You can also mix a few shovelfuls into potting soil for containers.
If your pile has a lot of unfinished material, stop adding fresh scraps and let it rest for a few weeks before harvesting. Some gardeners keep two bins running in rotation so one can finish while the other accepts new material.
Frequently Asked Questions
The content provided on our blog site traverses numerous categories, offering readers valuable and practical information. Readers can use the editorial team’s research and data to gain more insights into their topics of interest. However, they are requested not to treat the articles as conclusive. The website team cannot be held responsible for differences in data or inaccuracies found across other platforms. Please also note that the site might also miss out on various schemes and offers available that the readers may find more beneficial than the ones we cover.